1Drippy Copper Gourds and Pumpkins
 Mike Garten
Using copper liquid leaf, loosely paint a squiggly line on a dried gourd or pumpkin. Create high peaks and valleys so the drips are varied. (Use an old paint brush and only a small amount of paint, as liquid leaf is very runny). Once the "drip line" is dry, fill in the rest of the area with copper paint.
2Checkered Pumpkins
 The House That Lars Built
 Advertisement - Continue Reading Below
3Spider Web Pumpkins
 mike garten
Recreate this creepy display with only a few supplies: spray paint, tape and fake spiders. Start by forming a web pattern on your pumpkin with long strips of tape. Cover the entire surface with spray paint using light, even strokes. Let the paint dry completely and add additional coats if needed. Once it's fully dry, carefully peel off the tape and glue on a plastic spider for an eerie element.
4Popcorn Pumpkin
 Aww Sam
Go for a more cheerful design, like this pink popcorn bucket. Use strips of construction paper to trace the strips before painting, then add a scalloped edge to serve as the top of the bucket. To complete the look, glue real pieces of popcorn to the top.
Get the tutorial at Aww Sam »
Advertisement - Continue Reading Below
5Hocus Pocus Pumpkins
 Design Improvised
Bring the Sanderson sisters to life with craft paint and a few other simple supplies, like pom-poms, construction paper and pipe cleaners. The end result is equally adorable and hilarious.
Get the tutorial at Design Improvised »
6Unicorn Pumpkin
 One Little Project
Start by painting a pumpkin with white acrylic paint, then transform it into a beautiful unicorn using glitter cardstock, foam sheets and more. Don't forget to paint two perfect pink circles for the cheeks!
Get the tutorial at One Little Project »
Advertisement - Continue Reading Below
7Drippy Watercolor Pumpkins
 Paper & Stitch
Sometimes messy can look super charming! These dripping watercolor pumpkins are fun and easy to make. Just choose a few of your favorite paint colors and get adventurous.
Get the tutorial at Paper & Stitch »
8Black and White Striped Pumpkin
 Danielle Occhiogrosso
Stick with classic black and white stripes. First, paint an entire pumpkin white and allow it to dry. Use the natural grooves in the pumpkin as a guide for the vertical stripes, painting them as thick or thin as you'd like. You're welcome to add more stripes in between until you're happy with the look. Lastly, paint the stem black and allow time to dry before moving.
Advertisement - Continue Reading Below
9Monstera Leaf Pumpkin
 Sarah Hearts
Start by painting an entire pumpkin a bright shade (think mint green or yellow). Once it's dry, this blogger uses a stencil to create gorgeous leaf patterns.
Get the tutorial at Sarah Hearts »
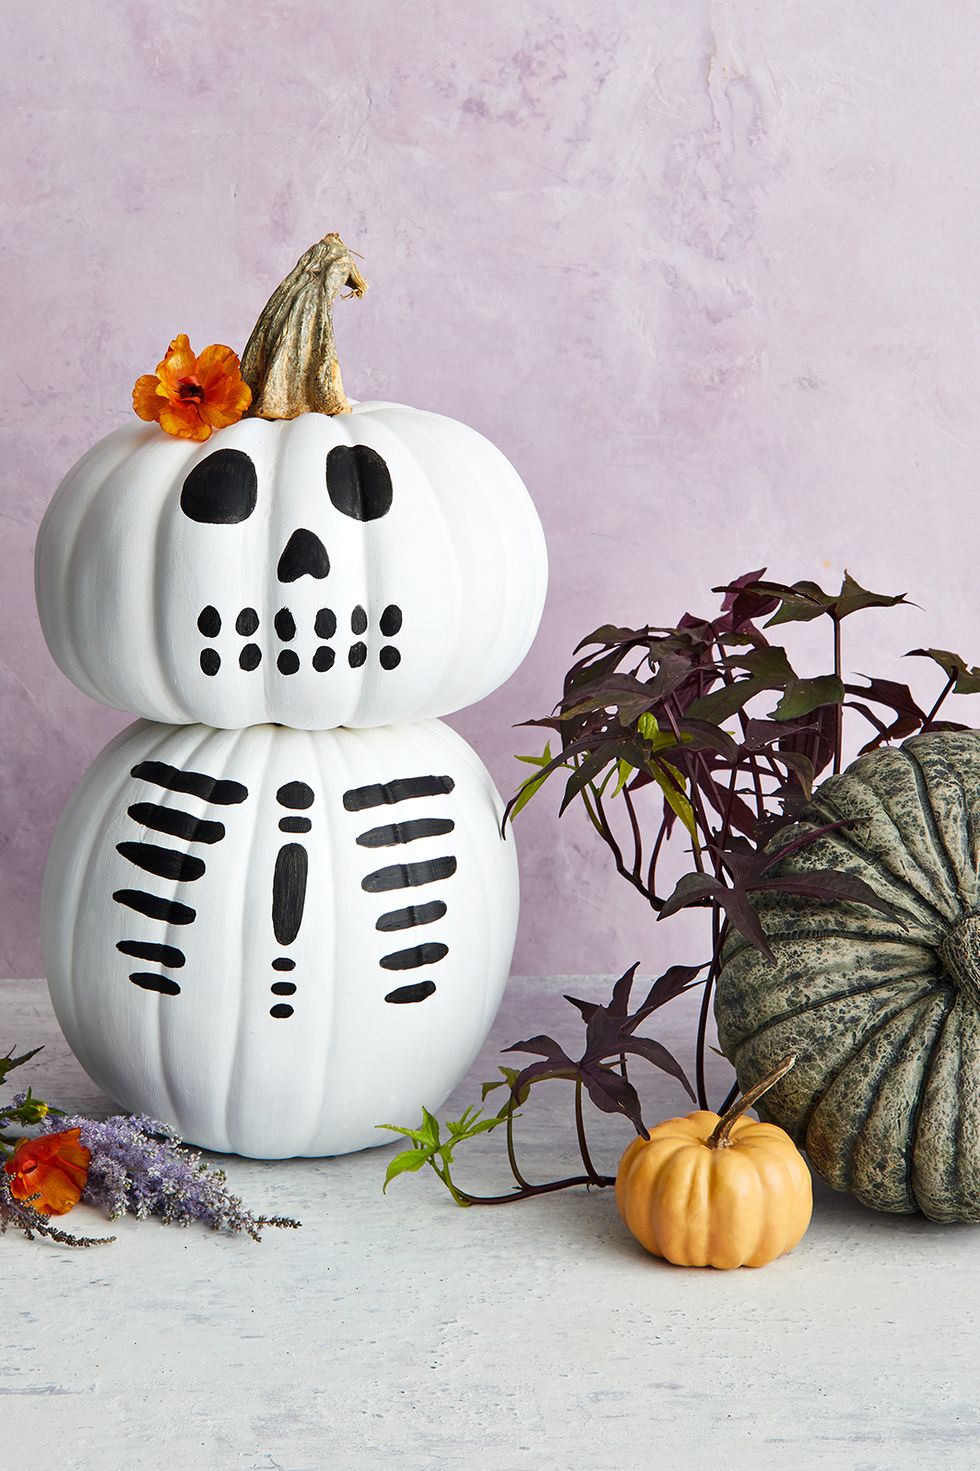
10Skeleton Pumpkin
 mike garten
Create a slightly spooky scene with a skeleton made from two stacked pumpkins (a wide shape for the head and a rounder one for the body). Spray paint the pumpkins white, then draw black circles and ovals to create the skeleton bones. Just make sure to remove the stem from the bottom pumpkin before stacking!
Advertisement - Continue Reading Below
11Spa Pumpkin
 mike garten
Once you've found a perfectly round pumpkin, give it the spa treatment. Use green or teal paint to draw a "face mask," leaving space for the nose and mouth. Once the face is dry, stretch a shower cap over the pumpkin's "head" and pin it in place with straight pins. Finish the look with cucumber eyes, which are really just cut-out images for longevity's sake.
SHOP SHOWER CAPS
RELATED: The Cutest Pumpkin Faces to DIY
12Mini Spider Pumpkin
 Mike Garten
Create just one of these or make a whole bunch for an extra-creepy display! Remove the pumpkin's stem and paint the whole thing with glossy black paint, then let it dry. Cut craft or floral wire into eight equal-length pieces and poke four wires into each side of the pumpkin. Bend each wire twice to make the legs. Using hot glue or craft glue, attach googly eyes to the top of the pumpkin.
Advertisement - Continue Reading Below
13Pastel Face Pumpkins
 The House That Lars Built
There's nothing spooky about these adorable pastel pumpkin faces. Start with matte spray paint (here, The House That Lars Built chose pretty pastels, black and white) for the base color. Then add quirky details for the face using acrylic paint.
Get the tutorial at The House That Lars Built »
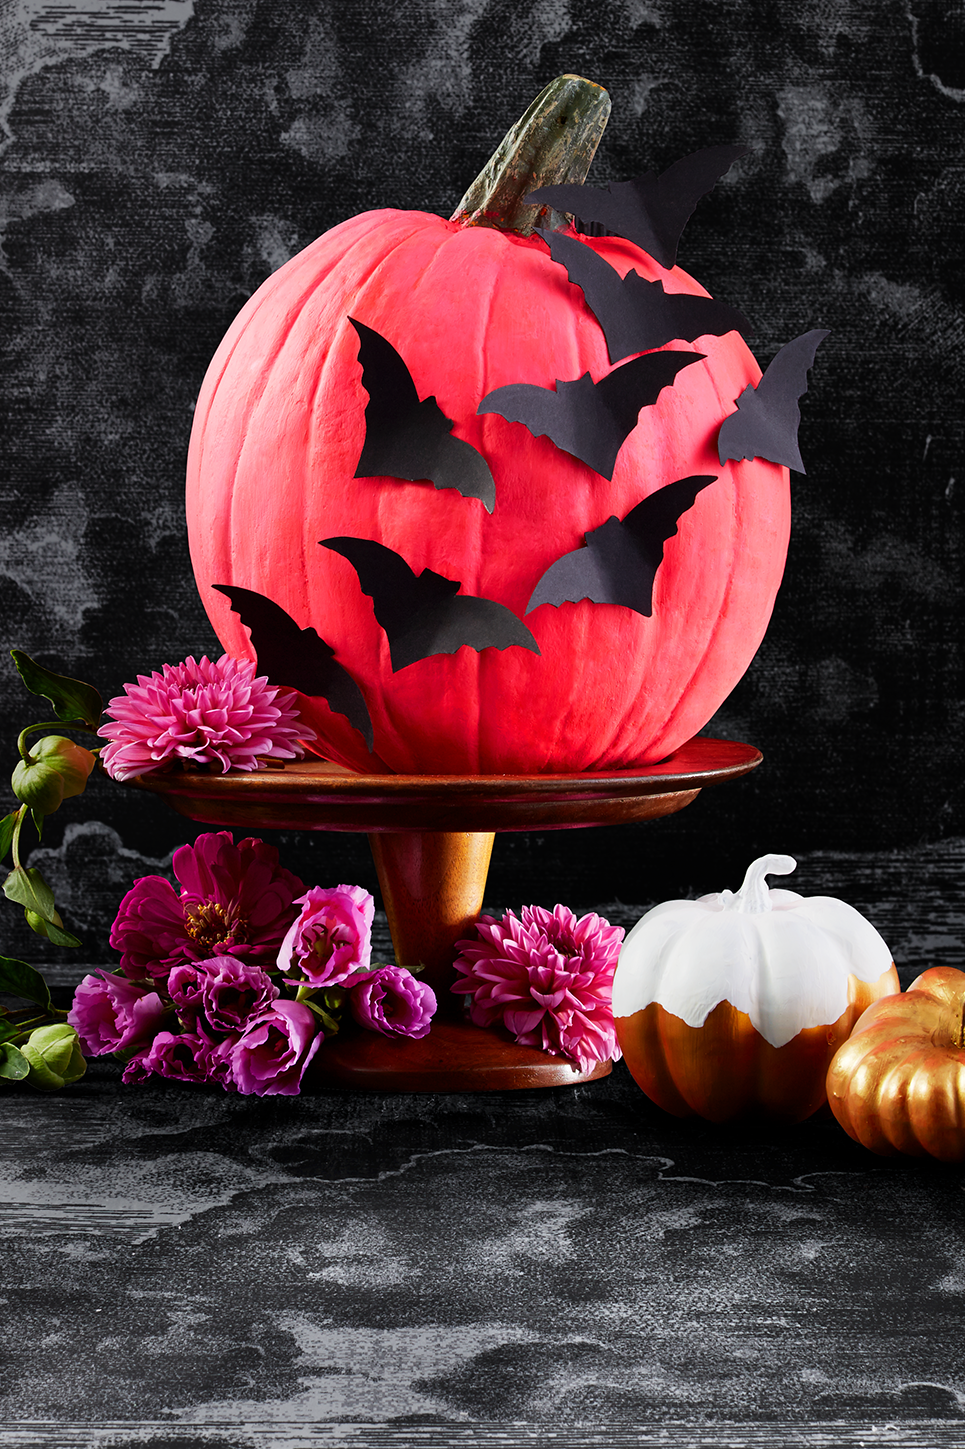
14Black Bat Pumpkin
 mike garten
Make a statement with a neon painted pumpkin (we're loving this pink hue). Then decorate it with black paper bats for a spooky touch. Make sure to keep your completed pumpkin under a covered porch or inside the house, so the paper bats aren't exposed to the elements.
SHOP PAPER BATS
Advertisement - Continue Reading Below
15Trailer Pumpkin
 Club Crafted
If you've still got summer on the mind, here's a fun idea: a vintage-inspired trailer. You'll need two shades of the same color for the trailer body, plus gray for the doors and windows and black for the outline work.
Get the tutorial at Club Crafted »
163D Painted Pumpkins
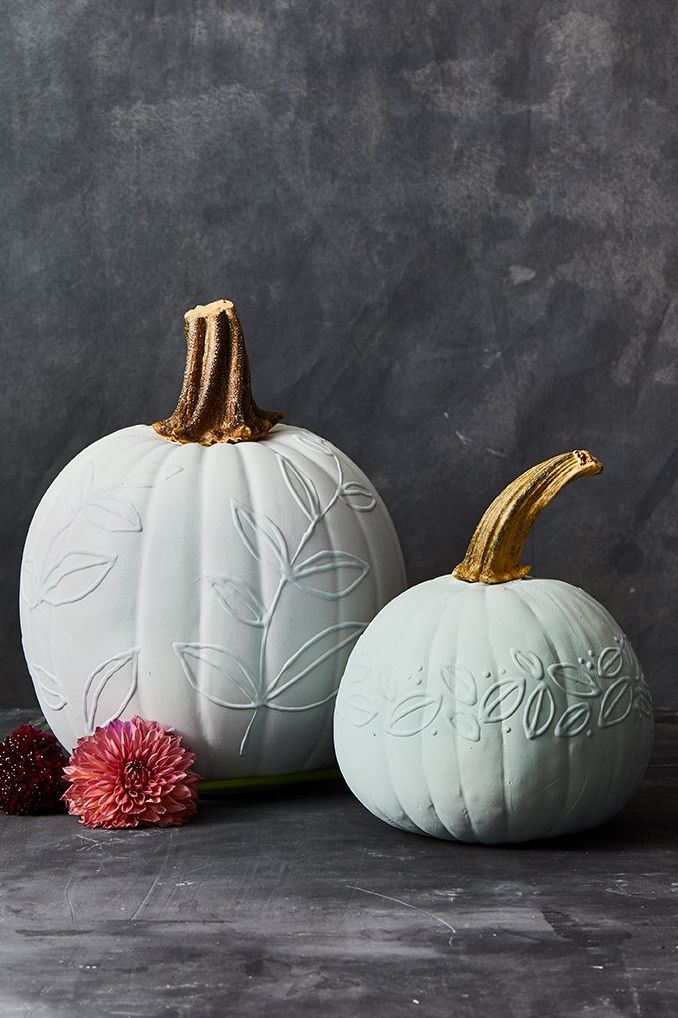
Puff paint is an easy way to give a pumpkin a textured look without any carving. Start by drawing a design on the pumpkin using a pencil — whether it's simple or intricate. Trace your pencil lines with puff paint and let dry completely for a few hours. Cover the stem of the pumpkin with masking tape and spray the pumpkin with matte spray paint or chalk paint and let dry. Repeat with a second coat if needed.
Hint: We found that using a lighter paint color shows off the 3D design best.
SHOP PUFF PAINT
Advertisement - Continue Reading Below
17Rainbow Mini Pumpkins
 Tell Love and Party
If you want to experiment with color, small white pumpkins work best for this project. For each pumpkin, you'll need a lighter and a darker shade of the same color. As you paint, use the natural grooves of the pumpkin as a guide. This blogger suggests starting with the lighter color first so you can use the darker shade to correct any mistakes later.
Get the tutorial at Tell Love and Party »
18Punny Painted Pumpkin
 Mike Garten
Start by painting an entire pumpkin white (or another light shade, like yellow or pink). Outline a punny phrase in pen — creep it real, for example — then trace it with black paint. Tie on a smiling tassel ghost from the stem to really drive the point home.
Advertisement - Continue Reading Below
19Tiny Bow Pumpkins
Add just a few black bows to turn an ordinary painted pumpkin into something unique. To get started, cut equal lengths of ribbon (ours were about 5 inches) and tie into bows (you can also use pre-made bows). Then, place a tiny dot of hot glue onto the pumpkin and place the bow on top. Let dry and repeat all over surface of the pumpkin.
SHOP BOWS
20Rainbow Pumpkin
 Alice and Lois
Play with bright hues and cheerful shapes, like Alice & Lois does here with hot pink and rainbows. Start by spray painting the entire pumpkin (stem included, if you wish) and giving it ample time to dry before adding your favorite design.
Get the tutorial at Alice and Lois »

Monique Valeris is the home design director for Good Housekeeping, where she oversees the brand's home decorating coverage across print and digital. Prior to joining GH in 2020, she was the digital editor at Elle Decor. In her current role, she explores everything from design trends and home tours to lifestyle product recommendations, including writing her monthly column, "What's in My Cart."

Alyssa Gautieri (she/her) is the associate lifestyle editor for Good Housekeeping, where she covers all things home and interior design. Prior to joining GH in 2022, she wrote for publications including ELLE Decor, Chairish, BobVila.com, Unique Homes Magazine and LODGING Magazine, in addition to crafting product copy for home brands like BrylaneHome and VIGO Industries.
Advertisement - Continue Reading Below
Advertisement - Continue Reading Below
Advertisement - Continue Reading Below


