Made This?
Let me know in the comments below!
A crispy chicken cutlet is one of life’s greatest pleasures. Whether smothered in marinara and mozzarella for a killer chicken Parm or stuffed between sliced milk bread to create a katsu sando, there’s just something about the combo of crunchy golden bread crumb exterior and juicy tender middle that can’t be beat.
Cutlets prepared for specific recipes may be embellished with extra ingredients—for example, Parmesan added to the breading for chicken Parm—but for this recipe, I wanted to strip the cutlet back to its purest form and create a versatile, straight-up delicious version that could be used in any recipe and fit with flavors and toppings from anywhere in the world.
How To Make Chicken Cutlets
Making the ultimate chicken cutlet isn’t difficult, but if you’ve never done it before, some of the steps might feel a little intimidating. Butterflying a chicken breast? Three-step dredge? Don’t worry. It’s way simpler than it sounds. Here’s what you need to get started.
• Chicken: Boneless, skinless chicken breasts are king here. If you have the chance to pick, choose breasts that are evenly thick to start with—this will make it easier to butterfly and pound them out evenly.
• Salt: I like to use kosher salt for seasoning meat because the coarser granules help me to distribute it more evenly across the chicken’s surface. I prefer using the Diamond Crystal brand; Morton salt is denser, making it easier to oversalt your food. If you’re using Morton, I recommend using only 3/4 teaspoon to season your chicken here.
• Flour: Dusting the chicken cutlets in all-purpose flour creates a dry surface for the egg to stick to. Without the flour, the egg would slip off the chicken or—at the very least—coat it unevenly.
• Eggs: Any size eggs works well here (though Delish standard is large). Just make sure to beat them well to fully incorporate both the yolk and the white. A pinch of salt will also help to break down the egg, reducing the chance that you’ll end up with globs of egg white on your chicken.
• Panko Bread Crumbs: Panko is king of bread crumbs for chicken cutlets. Unlike regular bread crumbs, which are basically a bunch of tiny little balls, panko bread crumbs are flakes fortified with irregular craggy edges that are practically begging to get crispy and golden.
• Oil: Vegetable oil is my go-to for any shallow-frying recipe like this, but you could also use canola or peanut oil, anything with a high smoke point.
The first step in creating the ultimate chicken cutlet is to butterfly and pound out your chicken. Sound complicated? It’s really not. Working one at a time, lay the chicken breast on a cutting board and, holding your knife parallel to the board, slice through the side of the breast, dividing it into two thinner breasts. Once the knife reaches the center of the breast, you can lift up the top of the breast—almost as if you were opening up a book—so you can see better as you continue to finish dividing it. Don’t worry if both sides aren’t totally even: The next step will help to fix this!
Once both breasts are butterflied, it’s time to pound them out. Pounding the cutlets ensures they’re the same thickness so they cook evenly, and it also slightly tenderizes them. The best way to do this is to sandwich two cutlets between two layers of plastic wrap and use the blunt end of a meat mallet (or the side of a rolling pin) to gently pound the chicken until it’s about 1/4" thick. Try to focus on the thickest part of the cutlets first—some may already be thin enough that they don’t really need to be pounded—and be gentle: You don’t want to destroy the chicken; just gently massage it into an even layer.
Time to bread. I like to use pie pans to hold the different breading ingredients: one for flour, one for the beaten egg, and one for the panko bread crumbs. I also like to set up a wire rack set inside a metal baking sheet as a landing pad for the breaded chicken cutlets to rest until I’m ready to fry. Before I begin breading, though, I generously season the chicken on both sides. Some people like to add the salt to their flour or bread crumbs, but I find that method results in uneven (and uncertain!) seasoning, since you’re never really sure how much of the salt is actually ending up on the chicken.
Once the chicken is seasoned, dip it in the flour, shaking off the excess, then dunk it into the beaten egg to coat. Finally, place it in the panko, making sure to press the panko firmly into the chicken breast to make it adhere. A final breading tip: Designate one hand for the dry breading (flour and panko) and use the other for the egg; otherwise, you’ll end up with one hand coated in layers of egg and panko—and the goal is to bread the cutlets, not your hand!
To fry the chicken, heat 1/2" oil in a large metal pan until it reaches 350°, then add the chicken to the pan, laying them away from you to avoid oil splatters. I generally cook 2 cutlets at a time, but if your pan is extra-big, you might be able to get away with 3. The chicken will take 2 to 3 minutes to cook on each side. Make sure you continue to monitor the oil temperature as the chicken cooks: You want to stay as close to medium heat (or 350°) as possible. If the oil gets too hot, the chicken will burn before it cooks in the middle; if it’s too cold, you’ll end up with oil-saturated breading.
As soon as the crispy cutlets come out of the pan, the last step is to hit them with a little finishing sprinkle of salt. That final touch will take these crispy chicken cutlets from pretty darn good to absolutely great.
Full list of ingredients and directions can be found in the recipe below.
• Chicken Milanese: This traditional Italian chicken cutlet uses fine bread crumbs spiced with garlic and onion powder.
• Chicken Katsu: This beloved Japanese staple is served with a craveable katsu sauce.
• Chicken Parmesan: In our ultimate take on this Italian American classic, the breading for the cutlets actually includes Parmesan, and the cutlets are fried in olive oil before being topped with marinara and lots of cheese.
As with most fried things, these cutlets are best fresh: As they cool, they’ll lose that crisp exterior texture. If you happen to have leftovers (doubtful, but let’s pretend!), they can be stored in an airtight container in the refrigerator for up to 3 days. My favorite way to reheat them is to let them sit at room temperature for 15 minutes before broiling them until heated through. I find this is the best way to regain some of that crispiness (though they’ll never be quite as good as they were fresh); but you can also heat them in the microwave if you prefer.
boneless, skinless chicken breasts (about 1 1/2 lb. total)
(60 g.) all-purpose flour
large eggs
Kosher salt
plain panko bread crumbs
vegetable oil
Lemon wedges, for serving
Let me know in the comments below!

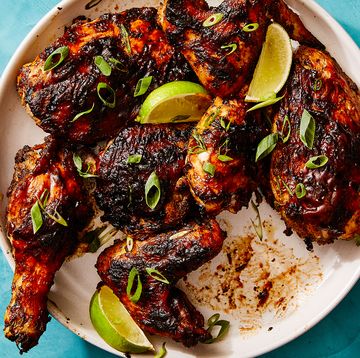
Jamaican Jerk Chicken

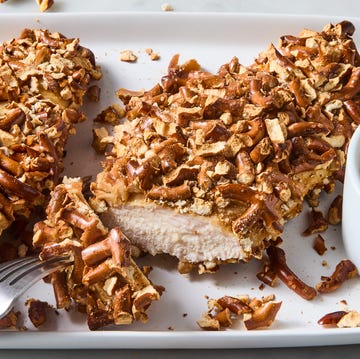
Pretzel-Crusted Chicken Breast

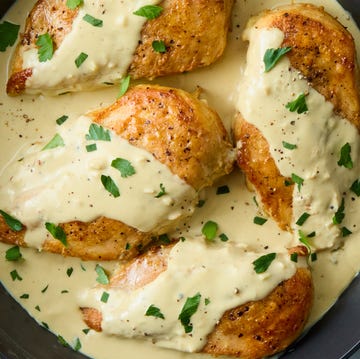
Creamy Dijon Chicken

40 Best Side Dishes For Chicken